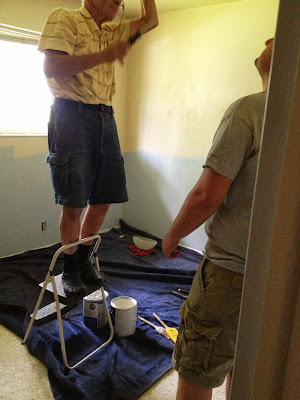
Dad came over one day when I had rented a wallpaper steamer and helped me de-wallpaper. It was a mess! But thank goodness we didn't mess with any of the other cheaper 'methods' that involve things like scoring the wallpaper and a solvent or even laundry softener because it turned out the wallpaper was part vinyl which put up quick a fight even against the steamer. But a couple hours later we got it all down just in time for the carpet to be replaced (by the way, whoever invented wallpaper should be taken out back and shot-seriously that is the biggest pain I've ever had to deal with).
The 'before' anything had been done in the Nursery
The horrid wallpaper. Seriously, how was this ever thought to be good looking?
In the process of de-wallpapering
De-wallpapered
The following Saturday Jared and I got the walls sanded down to get the remainder of the glue off, and then painted. We chose a gender neutral color because we don't want to have to repaint if we have a girl down the road and we personally really don't like having multiple rooms different colors. Boring yes, I know but I'd rather change the color scheme in decorations on a neutral background than have a ton of back breaking work to change the color scheme if I want to.
Painting was a huge undertaking and honestly lasted a week in total because we had to paint the ceiling (it was the awful yellow color that was on the top half of the walls), wait for it to dry, tape and then prime because of the two tone walls, wait for it to dry, paint the floor boards and trim because they had been painted BLUE, wait for that to dry, and then finally paint the actual color we wanted the room.
Prepping to paint the ceiling
After we had primed and painted the trim and floor boards throughout the room
Finally all painted! Now just to decorating which I will dish about in Part II


1 comment:
So good looking, I love it!
Post a Comment