Showing posts with label craftie. Show all posts

Friday, August 31, 2012

My very first personal business

except those childhood lemonade stands. But no, seriously, it's official! After weeks of having friends and coworkers trying to convince I should take my Infinity Scarf making to a higher level, I finally listened and...made my very own Etsy store! I'm actually really nervous/excited to hopefully get some clients and orders! As of right now I'm only doing 'made to order' items, but I intend to really concentrate of getting some basic items stocked up to be ready to send immediately.

Isn't my model Khrystalle just gorgeous?! A big thank you Khrystalle!

As I tried so carefully to explain this to the hubs, "these scarfs are THE fashion accessory must-have on everyone's list for the fall/winter time this year. AND these are better quality then anything you'll find at department stores, and unique to what you want." He just rolled his eyes and said, "whatever blows your dress up honey." Men just don't get it, but these would be something ideal for Christmas presents to loved wives/sisters/daughters...or maybe even yourself if you catch my drift. Every girl needs one and they don't break the bank. Please go check it out HERE! I'm totally stoked to have my own little project that I can do in my spare time that I actually love to do and can be beneficial for our family!

P.S. I made my own banner and everything. Whatcha think? Can you see yourself wearing one?

Tuesday, February 28, 2012

Colored Skinnies Project: What was I thinking?!

Sorry this has taken me SOOO long to post. I've just loved wearing these skinnies so its been hard to catch them when they're clean and when I have time to go take some photos in them. But here they are finally!

So this definitely may have been the craft project that went over my head...I had a couple mistakes but nothing serious. It just took all stinking week LONG. So all those cute trendy colored skinnies have been speaking to me in all these multiple store windows...but their price tags haven't. For ex.

Nordstroms BP $42

Gap $70

Express $65

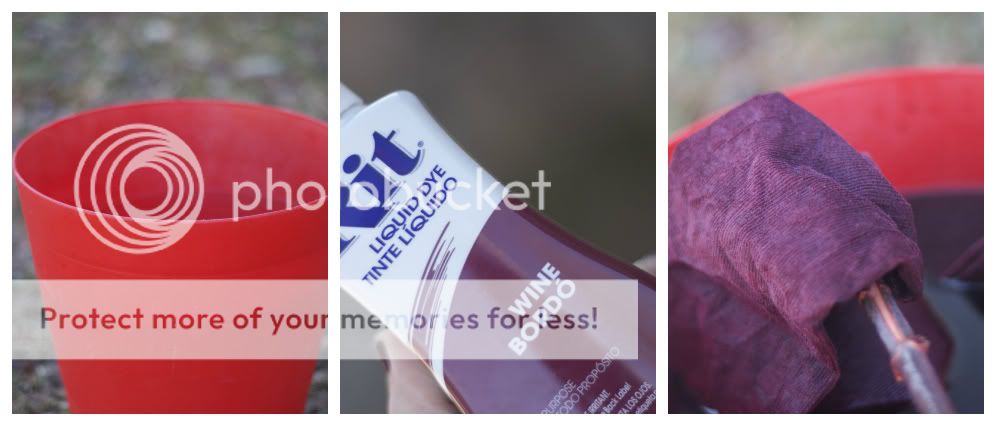
I had really written off ever getting a pair because a married lady only working part time can barely make ends meet to afford the bills...but when I found a pair of corduroy pants at the Gap Outlet for only $7 the little cogs in my mind got turning. And then I found some perfect purple burgundy clothing dye at the store for only $3 so altogether with some added effort and work I got exactly what I wanted for a fraction of the cost and I love it just that much more because I made them myself!

So I started with these tan bootcut cords...


that I got at the Gap outlet for $6. The first step was dye-ing them because the fabric had to be pushed, stretched, and washed multiple times after dye-ing them.


I used dye I really liked the color of from Walmart for $3 making the total of my spent cost on this project under ten dollars. Go me! The next step i.e. issue was that I wanted skinnies and these were bootcut. The good news was that I had a pair of Gap skinnies from last year that I love, so I used them for a trace comparison to know where to sew the pant legs in.

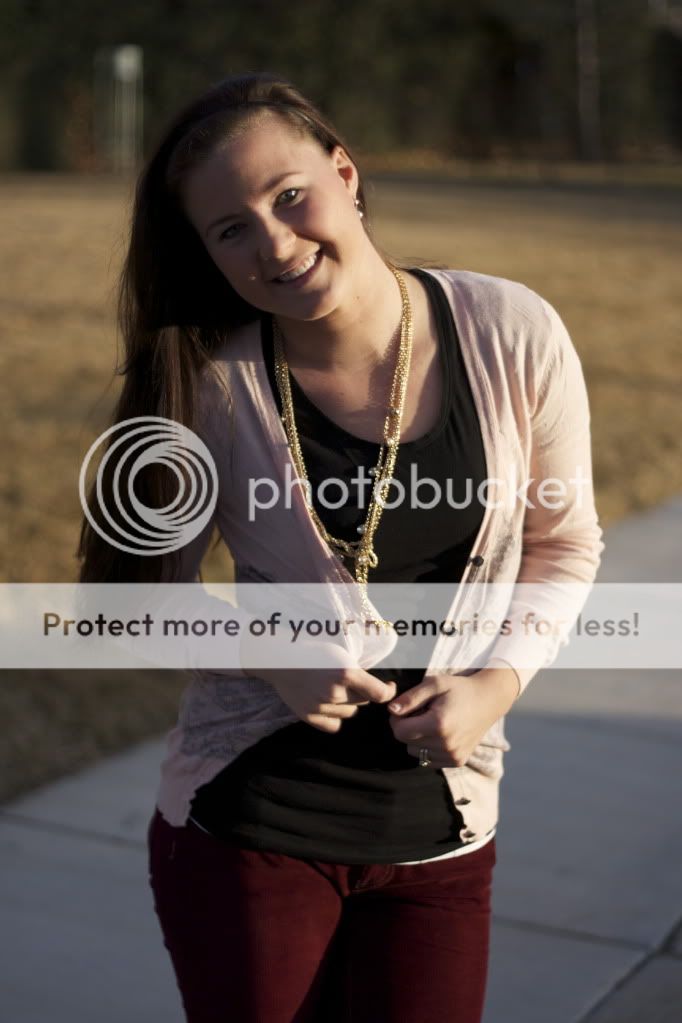
And this is the end result...


After some practice shots and my husband yelling, "I hate this!" we got some good ones. I'll make a photographer out of him yet!

Sunday, July 31, 2011

DIY crayon painting

I saw this idea on pinterest, and followed the link to etsy to this great piece. However if you follow the link you will note the price. Ridiculous for what it is! And way out of our budget for sure.


Here is the above mentioned piece that is selling currently for $70.

Love it? Want it? Well good, cause I will show you now how to make it for a mere $15.

Supplies:
crayons (Target has packs of 24 on sale for a mere 40 cents)
canvas of your choice size (Hobby Lobby has a sale on their canvas of 40% off)
superglue to affix the crayons
hair-blow dryer

I got all the supplies for a total of $15 and I already owned a hair blow dryer.


Instructions:
To begin I HIGHLY suggest you do this somewhere in a large space since it tends to splatter. Also make sure to cover the floor with newspaper in a large radius around your workspace. You'd be amazed as to where the melted crayon splatters once you're done.

Once you organize and attach your crayons tip down at the top of your canvas in the color scheme you want, fix the canvas so that it is at a bit of an angle, but not so flat that the wax won't run. I suggest only a couple inches difference in the top and bottom end locations. Make sure you have the canvas up above your hip height so that it is easy to control the flow of the wax.

Once you get started there are three huge tricks to getting this the way the 'professional & expensive' option has it.

1. keep the hair blow dryer on hi heat and hi blow power so as to get the smoothest wax lines as possible. Also make sure you don't start at one end and then intermittently move around. Pick one edge to start and then keep melting that section until its all melted the way you want it to be and then continue to the other side melting appropriately.

2. when starting melting, melt the bottom of the crayons and then slowly move upwards until your hair blow dryer is straight up and down directed at the very top of the crayons. This is the best way to get all the wax out of the crayons and to ensure a good flow.

***be aware, as the wax melts farther down the canvas, it will start to cool and may stop farther up then you want. Just help the wax go down by directing the heatflow going over the cooling wax lines and use the air to push it down farther.***

3. as you can see in the 'expert' crayon line painting, they do not melt all the wax and cover the ENTIRE canvas. They leave some pretty wax lines, and some space at the bottom. It makes it more artistic.

And in the end with some due dilligence you will have some an amazing painting that people will ask you where you got it/how you made it/mention how cool it is. Every single person who has seen it has said how cool it is. I know exactly where I'm going to put this in our new apt. Happy melting!

-Mel

Thursday, February 17, 2011

V-day

I'm a touch late, but I figured better late then never. Our Valentine's was filled with what almost all our previous holidays being married have been....working. Which was fine, because truthfully, Valentine's isn't that important to us...mainly because our "Valentine's" is a full week after on the 21st of Feb when we got engaged. 


But don't get me wrong, I'm all for a day specifically devoted to L.O.V.E. I was actually so excited for it I made a Valentine's wreath about two months ago! I wanted you to see it because I sacrificed many hot glue gun burns+multiple hours sitting making it.


Personally I think its b-e-a-utiful!


Congrats to all those friends who got engaged on Valentines! Hope it was a wonderful lover's day for everyone!

Sunday, December 05, 2010

{Christmas Decorations}

Since I've been married, Tai Pan has become one of my favorite stores to get decorations from. This holiday has not been any exception to that. I had to stop by after Thanksgiving because our apt. just looked so bare, and they had so many great unique decorations. Although we don't have a full size tree this year I still think it turned out very festive.
Take a peak...


Isn't that table runner SO cute?! I love its personality.


Our tree is my old American Girl Doll Christmas tree. It made no sense to go buy another smaller tree, so I finally put it to good use after being boxed away for almost ten years. We simply have NO WHERE to put a full size tree sadly.


Who doesn't love some holiday jingle? I grew up with real sleigh bells on our front door that my Grandma gave to my dad, so it just isn't the holiday season without some bells (:


And lastly, my beautiful wreath that I made myself! I'm quite proud of it, because it turned out A LOT better then I thought it would. I'm loving all the Christmas music on 24/7 until the 25th, its the only thing I listen to anymore! Happy holidays!

Christmas Girls Party 2010

I seriously have been looking forward to this party for MONTHS! I had so much fun at my last one, and I felt like I made tons of friends. I put a lot of thought and effort into what my white elephant gift was going to be. I wanted it to be something cute, and useful. So after some serious deliberation, I came up with this...

adorable cookie jar filled with cute christmas themed cookie cutters with recipes attached. I thought it was super cute and practical for someone who loves to cook. I was really glad that Betty got it, because she collects snowmen and bakes a lot, so it was perfect for her.

I got Shalena's gift, which I love! Its the perfect decoration for my entry table. Thank you Shalena!


 Aren't they SO cute?! I tried to make it look like they were holding hands...I'm not sure if it worked. 

Anyways, it was overall an awesome girl's night out. We felt like rock stars even though Breck is seven months prego. Doesn't she look awesome though? For some reason I don't have any pictures of Sherrie. Probably because she was so busy fighting for her present.


The group photo, but we weren't posed yet. Oh well. These are just half of the awesome women that go to this girls party. Can't wait for the first saturday in June!

P.S. Aunty Blynn, thank you for being a great sport about us taking your present every time. Hope you weren't too pissed off. Love you. (:

Sunday, November 07, 2010

.Changing of the leaves.

So I have had this craft sitting in my closet for about two or three weeks. I made one for my madre for her BIRTHDAY, which is today. Happy Birthday Mom! You are the greatest mom ever!

I got the idea from Blue Cricket Design. I absolutely loved the colors, and the fact that it was leaves (very seasonal) which, I thought was super creative and original. You don't see many people with leaves on their shirts so I thought it'd be something that would draw attention.


What do you think? I wasn't so sure myself but its actually starting to grow on me.

My brother-in-law actually thought that these shirts I've been making are quality and cute enough to make and sell myself. I'm not so sure how many people would actually want these. I just love making them myself cause they're personal and much cheaper then buying a monotone million-duplicate shirt from a department store. Any suggestions/feedback/thoughts/ideas? I dunno. I wouldn't really be able to do mass numbers of shirts though so that's why I'm hesitant to even start on such a project...I dunno.

P.S. here is my mother's b-day present

Isn't my husband the cutest?! He's such a doll for modeling it for the camera. (:

Thursday, October 14, 2010

{couch+pillows}


For this past month I've had fabric sitting in our storage closet with my sewing machine, waiting to be made into pillows for our new couch. Of course only 'new' because no one besides us has sat on it since we got it over a month ago. Someone should come fix that (hint hint).


Doesn't that look so comfy and inviting? See, you should come visit. (:


And see these stellar pillows? yeah, made by yours truly!


See those beauties? Instead of paying 20$ per generic pillow (from what I found in stores) I decided I'd rather have personalized pillows that were the colors I wanted for the kitchen. Sure it was some work, but overall I'm very pleased with the outcome! And I love them that much more that I created them with my own hands.

I'm definitely molly mormon now!

But a video a Professor showed in my freshman year makes me feel a lot better about all my DIY projects...

Take a moment and watch it.


P.S. today I changed my hair color. Super seriously love love love it. Pictures to come soon!

Thursday, September 23, 2010

{project:finish the kitchen}

So we've had this huge hole in our kitchen between the fridge and our bookcase. So I have been trying SO hard to figure out what to do to make it look better. A couple weeks ago my parents brought down one of their old couches for us to have. Well then we had this problem of the huge empty space of the wall above it...so I came up with this


To save money, I cut and matted the picture all by myself.


This is the finished wall part of project:finish the kitchen. Lookin' good huh?!

The rest of it should be done hopefully by next week! Pictures to come.

Tuesday, September 07, 2010

{Holly Homemaker}

This past weekend was absolutely heaven to get an extra day off from work and school, and although I didn't spend it with my honey, we both had tons of fun. However, I look back and feel like I spent it being a holly homemaker, which was not my intent!

First of all Sunday was spent relaxing, watching church movies, and I....BAKED! This is the first time in weeks I have done this, and I know my neighbors and husband appreciated the braided bread they got to enjoy. Well at least they said they did...


*If you want to know how to make this go here*

And Jer made some yummy italian salad's as he called them. 

(I had to insert this just to prove that Jer is the creative cook/chef in our family, while I am the one who resorts to frozen dinners)

Then while Jer went fishing all day at Duck Fork for Labor day,


I madly spent the day with my parents searching everywhere from PC, to Layton for something amazingly beautiful and eye-poppingly colorful- but not costly- for our kitchen. It's been driving me nuts that its so dull and blah, so I wanted something to bring some color to the room. I finally found these flowers at Tai Pan (love that place), and this sea blue vase at Ikea for....$1 (also love that place!)


Doesn't it make it look sooo much more colorful? Guess you'll have to come see it for yourself! There are more plans in the works before we can have a big family get together to let them see our apt. so it'll be a while. I dunno why its taking us so long to completely finish decorating our apartment, but it is!

So here's to us finally finishing it sometime soon!

And as my upstairs neighbor reminds me...there's nothing wrong with being a holly homemaker (:

Sunday, August 29, 2010

More craftiness

A shout out to my friend Brianne Hollberg who I spent all day yesterday making extremely cute hairpieces and headbands while the men went shooting. It was a blast, and to think you can wear these with a pony tail and a plain shirt, or pair it with maybe a cardigan and jeans? I love this craft and especially how cheap the cost is per hair piece compared to a boutique!


I wore mine to church today, and got quite a couple compliments and 'where'd you get that?' questions. What is better than being able to say, 'oh I made it!'? I love all these DIY projects, and plan to do even more! Hopefully I don't go overboard, but its hard to go overboard on saving money!

Tuesday, August 24, 2010

{Bein' Crafty}

So being a newlywed who has bills to pay I decided to get crafty to save some money on fashion. One shirt in particular really caught my attention on my last trip to the mall with my Momma. It was in Nordstroms and was one of those really cute shirts that has tulle ruffles and flowers sewn to the neckline. Very popular right now.

Well it cost $45. How could I possibly justify that to Jer when I would get home and walk through the door?


Well I inspected it and it didn't look that complicated, so I went and bought some supplies for two different shirts in case I messed up on one. I bought two shirts from Forever 21 and then clothe from Joannes, all totaling $20. So basically $10 per shirt. Much better then $45 for one shirt!

After a couple hours playing with the iron and sewing machine, and then sewing on my own bead/crystal things I ended up with this...


I think it's super cute! I'm so impressed with myself for making this. It isn't exactly like the shirt I saw but it's unique and reminds me of a boutique kind of look which I love. I am going to be making the other shirt soon and I'll post pictures of that when it's done!